Instructions

Welcome to Jack At Home! If you're preparing to use your at-home post-vasectomy test kit, our step-by-step instructions are designed to make the process straightforward and stress-free. However, if you have any questions or need assistance at any point, please don't hesitate to reach out to our support team at support@jackathome.com. To help us assist you faster, please include your kit's serial number and/or tracking number in your email. This information allows us to quickly locate your order and provide the support you need. 

1. Create your account and register

Before doing anything else, you must register your kit using the unique serial number found on the instruction card inside your box. This step is absolutely critical — it links your sample to your account and ensures our lab can process and deliver your results correctly.
 

āš ļø IMPORTANTāš ļø Without completing this step, we cannot perform the analysis or deliver your results. Your registration provides the essential data that connects your returned sample to you — skipping this step means your test will arrive at the lab unidentifiable and cannot be processed.
 

Take 1 minute now to register at jackathome.com/register before continuing with the rest of the instructions.

Title

2. Pick your day to submit your sample

Select the day you plan to submit your sample. 

You must wait at least 12 weeks and have 20 ejaculations after vasectomy. Please ensure your schedule allows you to drop your return box at a UPS store the same day you collect your sample.

Title

3. Open the Condom and deposit your sample

Open the Condom provided (or your own) and gently slip it on. Ejaculate into the condom. Once done, gently remove the condom without spilling the sample.

Title

4. Place the Condom in the Transport Tube and add the Preservative
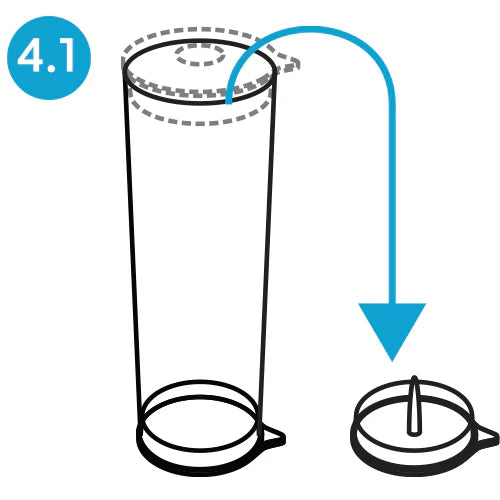
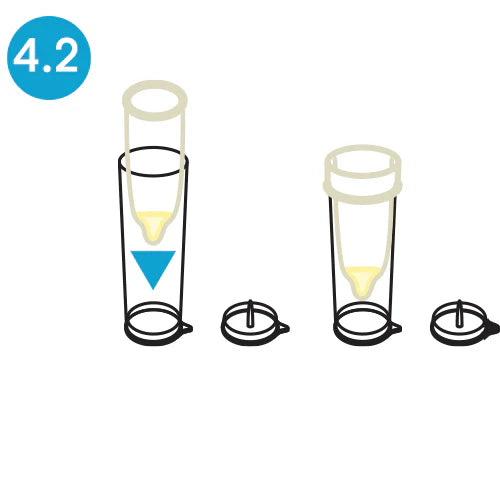
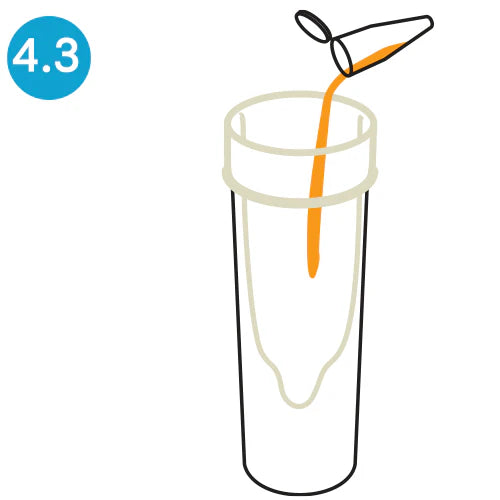
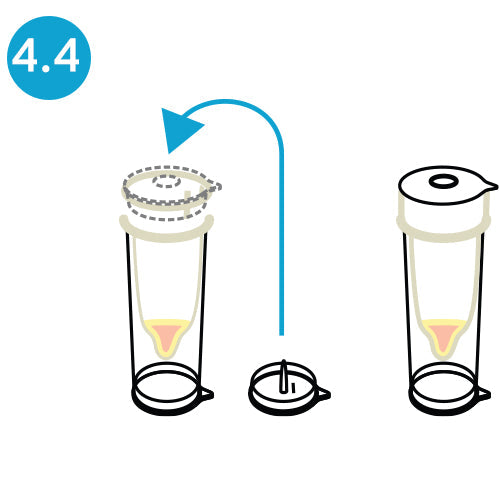
1. Open only the top lid of the Transport Tube as pictured to the right.

2. Gently stretch the Condom around the top perimeter of the open tube.
 

3. With the top of the Condom securely around the top of the tube and the sample sitting inside the body of the tube, add and mix the preservative from one vial. Note: The 2nd vial is only provided in case you accidentally spill the first vial.

4. The 2nd vial is a backup only in case you spill the first one. You can discard the 2nd vial if it's not needed. Firmly secure the lid by pressing to top lid back on the body of the tube, sealing the tube and ensuring the top plug remains securely in place.

Title

5. Repackage, seal, and ship!

Place the Transport Tube in the Biohazard Bag and then place it back in the box. Place the prepaid Shipping Label on the top of the box covering the kit logo. Seal the box securely and drop it off at any UPS location.

Title

6. Wait for Your Results

You'll receive an email when your kit has been received and your sample has been analyzed.

Questions or comments? Contact us!